
Install and Placement Guidance for Flat-Pack Storage Containers
Standardize Site Prep, Anchoring, and Placement Across Every Location
Deploying flat-pack storage containers should feel coordinated—not improvised.
Most installation issues are not caused by the unit itself, but by inconsistent site prep, unclear anchoring plans, or placement decisions made without considering access, traffic flow, or inspection requirements.
This Install & Placement Guide provides a clear, repeatable framework for deploying flat-pack storage across the U.S., Canada, and Puerto Rico—supporting commercial teams managing multi-site rollouts.
This guide helps teams:
- Prevent rework and last-minute anchoring changes
- Avoid leveling issues and door misalignment
- Maintain clear fire lanes and compliant access routes
- Reduce inspection delays and approval friction
- Standardize installation across multiple locations
Why Installation Planning Fails (and How to Prevent It)
Install failures rarely happen because a container is complicated.
They happen because:
The base wasn’t properly compacted
Drainage wasn’t evaluated
The placement blocked operations
Anchoring was decided too late
Internal approvals weren’t aligned
Re-leveling, emergency anchor retrofits, and delayed inspections add cost quickly. For teams deploying flat pack container installation programs across multiple sites, inconsistency becomes expensive.
This guide exists to reduce that friction before delivery day.
Flatbox supports structured rollouts across North America. The templates and checklists below reflect repeatable field practices used by commercial operators deploying standardized infrastructure at scale.
Quick-Start: Decide These 7 Things Before Scheduling Delivery
A clean install starts before the truck arrives.
Lock these early:
Exact placement location (stall, yard apron, fence line, BOH wall, pad)
What must remain clear (dock access, fire lanes, accessible routes, door swings)
Base type (compacted gravel, slab, piers/blocks, reinforced asphalt)
Anchoring intent (temporary, seasonal, long-term deployment)
Exposure classification (wind, coastal corrosion, snow, standing water, heat)
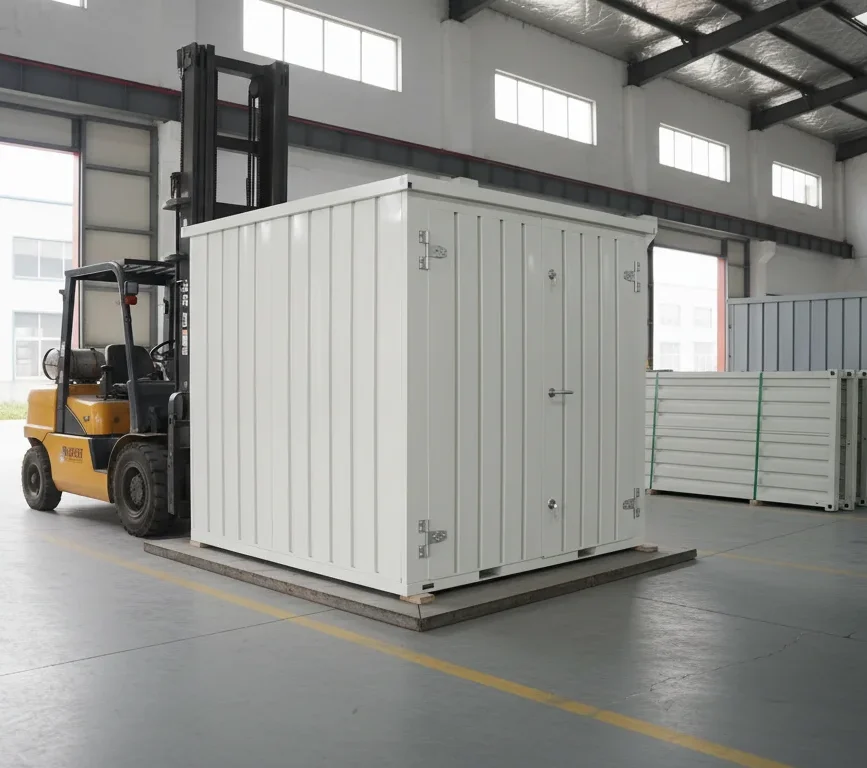
Handling plan (forklift capacity, approach path, staging footprint)
Approval path (landlord, municipal, Safety/EHS, ADA review)
Standardizing these decisions protects schedule and budget.
Site Prep Fundamentals for Flat Pack Steel Storage Containers
An install that is “almost level” becomes a long-term maintenance issue. Door drag. Hardware fatigue. Water intrusion. Uneven wear. Proper site prep is the lowest-cost insurance in your rollout.
Subgrade & Drainage: Solve the Invisible Problems First
Before placing a flat pack storage container, confirm:
The site does not pond water after rainfall
Snow storage or roof runoff won’t direct water toward the unit
Surface water flows away from door openings
The access path remains stable during freeze/thaw cycles
Drainage failure is one of the most common causes of long-term container issues. Fix drainage first. Place second.
Gravel Pad Checklist (Field-Friendly Standard)
Search demand for “gravel pad for shipping containers” is high because teams want a simple recipe.
Here is the practical framework your teams can repeat:
Pad extends beyond unit footprint
Geotextile underlayment where soils are soft
Well-graded compactable base material
Compacted in lifts (not loose spread stone)
Level surface under the unit
Perimeter slope for runoff
Seasonal settlement checks in freeze/thaw climates
If the site is flood-prone, high-traffic, or soft soil, evaluate slab or engineered base options instead.
Base Options for Flat Pack Container Installation
Choose a foundation approach that aligns with your deployment timeline, usage intensity, and site conditions.
Option A: Compacted Gravel Base
Best for:
Quick deployments
Seasonal programs
Parking lot or yard placements
Watch-outs:
Soft soils
Poor drainage
Repeated heavy traffic without reinforcement
Option B: Slab or Paved Pad
Best for:
Long-term placements
High door-cycle frequency
Permanent-looking installations
Watch-outs:
Scheduling coordination
Cure timelines
Utility routing
Option C: Piers or Blocks
Best for:
Elevation needs
Specific drainage conditions
Watch-outs:
Uneven load distribution
Long-term leveling drift
Approval variance by jurisdiction
The goal is not overbuilding. It’s deploying a base your team can repeat across locations without rework.
Anchoring Flat Pack Storage Containers
Anchoring is about managing real-world forces—not overengineering the solution.
Uplift (wind load)
Lateral movement (sliding)
Security/tamper resistance
When teams search “how to anchor a shipping container,” they are deciding between ground anchors and slab anchors. For flat pack steel storage containers, the same logic applies: Your substrate and exposure drive the method.
Common Anchoring Approaches
- Concrete anchoring (slab or paved pad installations)
Ideal for permanent or long-term placements with consistent surfaces. - Ground anchoring (helical or earth anchors)
Used where soil conditions allow for embedded anchoring systems. - Perimeter restraint systems
Applied when anchoring into the base is limited or not preferred. - Hybrid approaches
Combined methods for high-wind or high-exposure environments.
What matters most is not the method—it’s alignment.
Defining anchoring intent early helps Facilities, Safety teams, and local authorities stay coordinated before install day—reducing delays, redesigns, and last-minute changes.
Placement Planning & ADA/Egress Considerations
Most operational conflict happens after placement.
A unit may physically fit — but block flow. Before finalizing placement, walk the site like an operator:
Where do vehicles queue at peak?
Where do forklifts turn?
Where do pedestrians cut through?
Where do deliveries stage?
Egress & Accessible Route Planning (Plain Language)
Teams often search building code egress requirements to avoid blocking exits.
Practical standards:
Do not obstruct exit access or discharge paths
Preserve accessible routes and turn clearances
Maintain fire lane access
Keep queue lines from spilling into egress paths
Your local AHJ sets final rules. Our role is to give your team repeatable templates so those conversations move faster.
Climate & Regional Considerations
Flat pack storage containers deployed across North America face different stress factors. Plan once to avoid rework.
Coastal / Humid Regions (Puerto Rico, Gulf, Atlantic)
Corrosion exposure
Condensation management
Finish considerations
Snow Belt Regions (Canada, Northern U.S.)
Plow paths
Snow storage zones
Freeze/thaw settlement
Door swing clearance
High Heat / Open Lot
Worker install timing
Surface heat reflection
Shade planning
High Wind Zones
Enhanced anchoring scrutiny
Open exposure review
Regional awareness protects long-term performance.
The Standard Install Sequence for Multi-Site Rollouts
Consistency scales better than perfection.
Use this rhythm across sites:
Stage: confirm access path and staging footprint
Place: set unit in final position
Level: verify level before anchoring
Anchor: install chosen method per local requirements
Finish: accessories, labels, safety checks
Handoff: Facilities + Ops + Safety sign-off
Level before anchoring. Always.
Standardization is what allows infrastructure to scale.
Common Installation Mistakes That Drive Up Cost
We’ll level it later
Anchor first, and you fight misalignment forever.
Gravel is gravel
Uncompacted stone leads to settlement and door issues.
It fits the space
Fit does not equal flow. Blocking movement creates operational friction.
We’ll decide accessories per site
Lack of standardization complicates procurement.
There’s no staging area
Install day becomes chaotic without clear approach paths.
Frequently Asked Questions
Do flat pack storage containers require permits?
It depends on jurisdiction and use case. Some locations treat units as equipment; others as structures. Confirm with your AHJ.
Can flat pack containers be placed on gravel?
Often yes — if properly compacted and well-drained. The key is repeatability and leveling stability.
How do we prevent blocking operations?
Use standardized placement templates that preserve lanes, doors, and accessible routes.
Can units be relocated?
Yes. Many programs redeploy units. Plan anchoring and placement with lifecycle flexibility in mind.
Standardize Before You Scale
When site prep, anchoring intent, and placement standards are defined once, every install after that becomes faster, cleaner, and more predictable.
That is the difference between placing individual units and building a repeatable deployment program.
Standardization reduces rework, simplifies approvals, and gives teams a clearer path from quote to install across every location.